How to cut out hair fast on Adobe Photoshop

We know the challenges designers face when it comes to cutting out models for use on other backgrounds, so we’ve prepared a step by step method on how our in-house designers cut out models really fast and still retain all the fine details in the hair and body outline of images

Step 1:
Select your preferred background color and image
(Note: Image must be on plain white background with high contrast clothing).
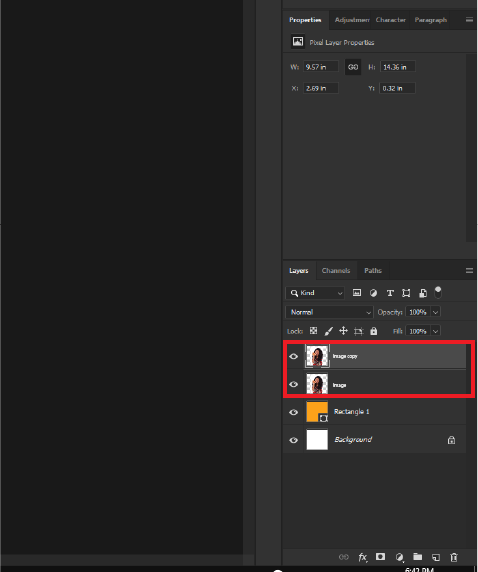
Step 2:
Rasterize image if not already a flat layer and duplicate.
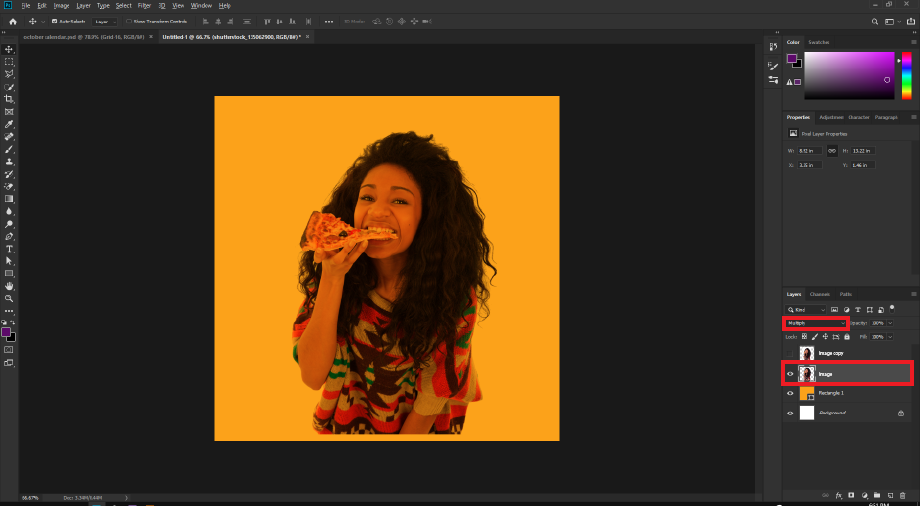
Step 3:
Hide the top layer and set the blending mode for the bottom layer to “Multiply”.
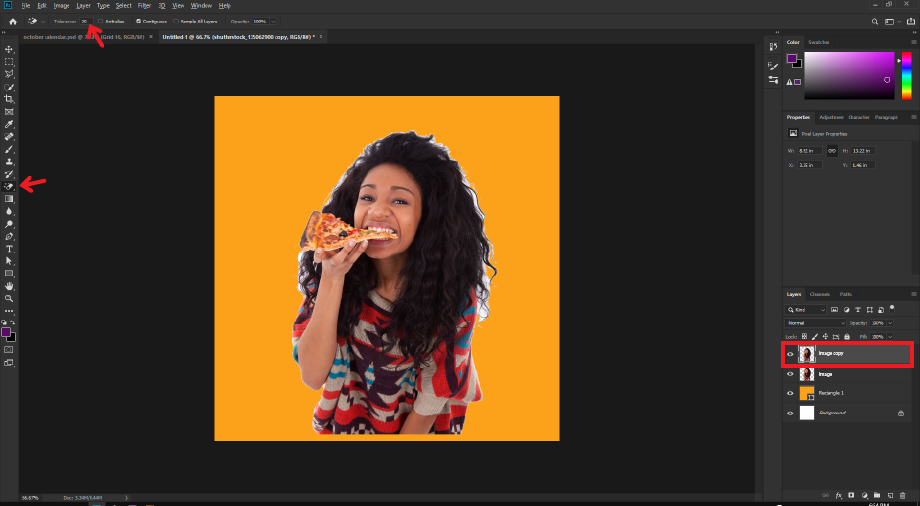
Step 4:
Reveal the top layer and use the magic eraser tool to erase all white area surrounding the image, set tolerance to anywhere between ‘10 and 30’.
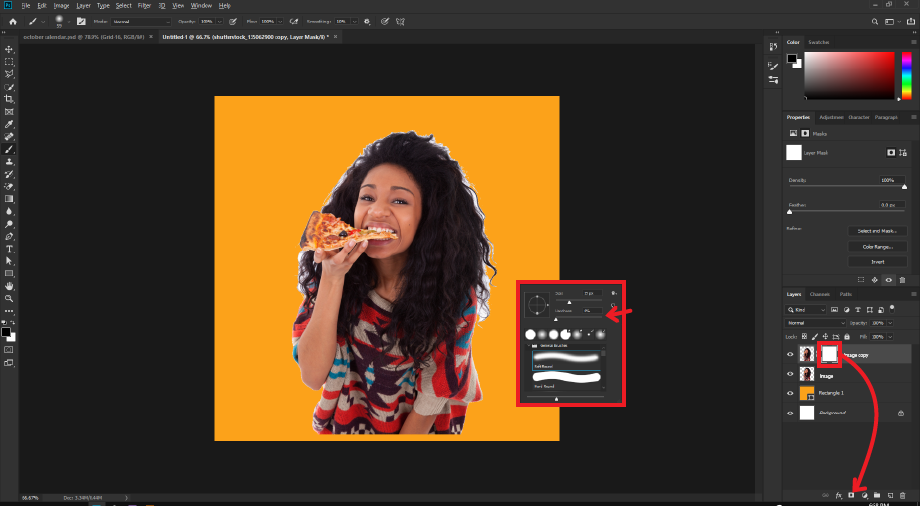
Step 5:
Create a mask and select the ‘soft rounded’ brush tool with hardness set to ‘zero’. Choose a small size that spans the width of your image’s hair edges.
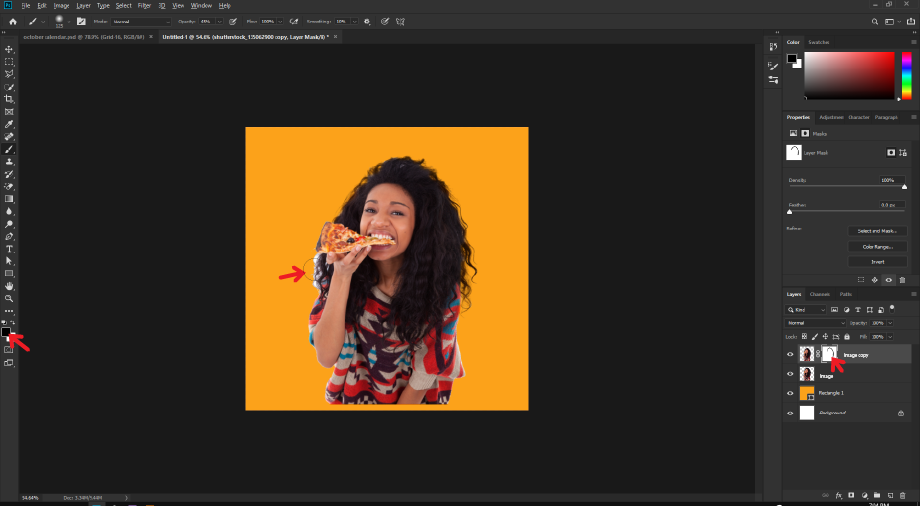
Step 6:
With the foreground color set to full black, brush around the hair edges, making sure your mask is selected and not the image thumbnail.
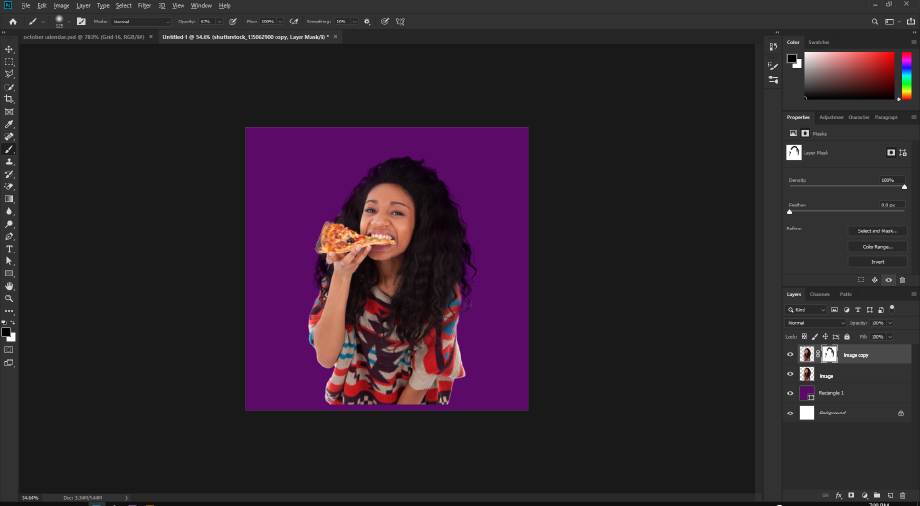
Final Step:
Fine tune your brushing using the brush opacity and sizes to get a finer result.
Change background color to see your new found magic.